Ech0 - 00 / 00 / 00

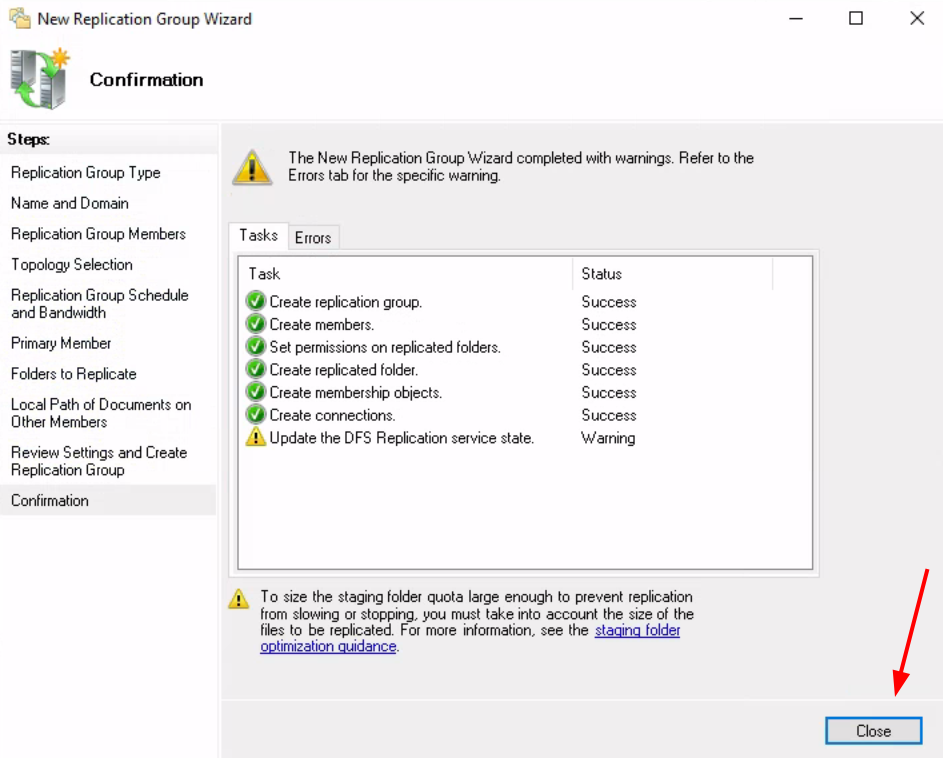
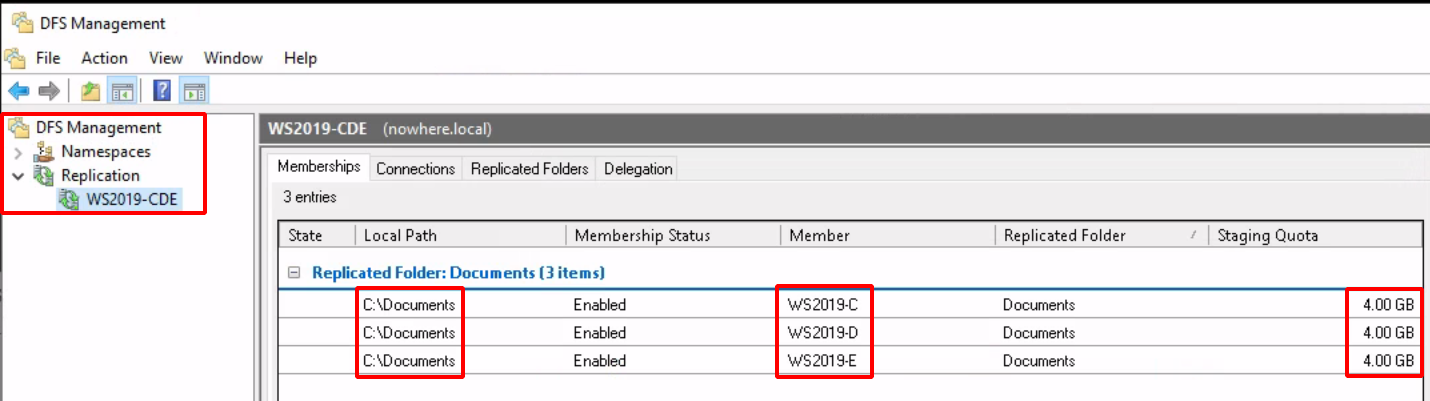
WS2019 Triple DFS Share replication

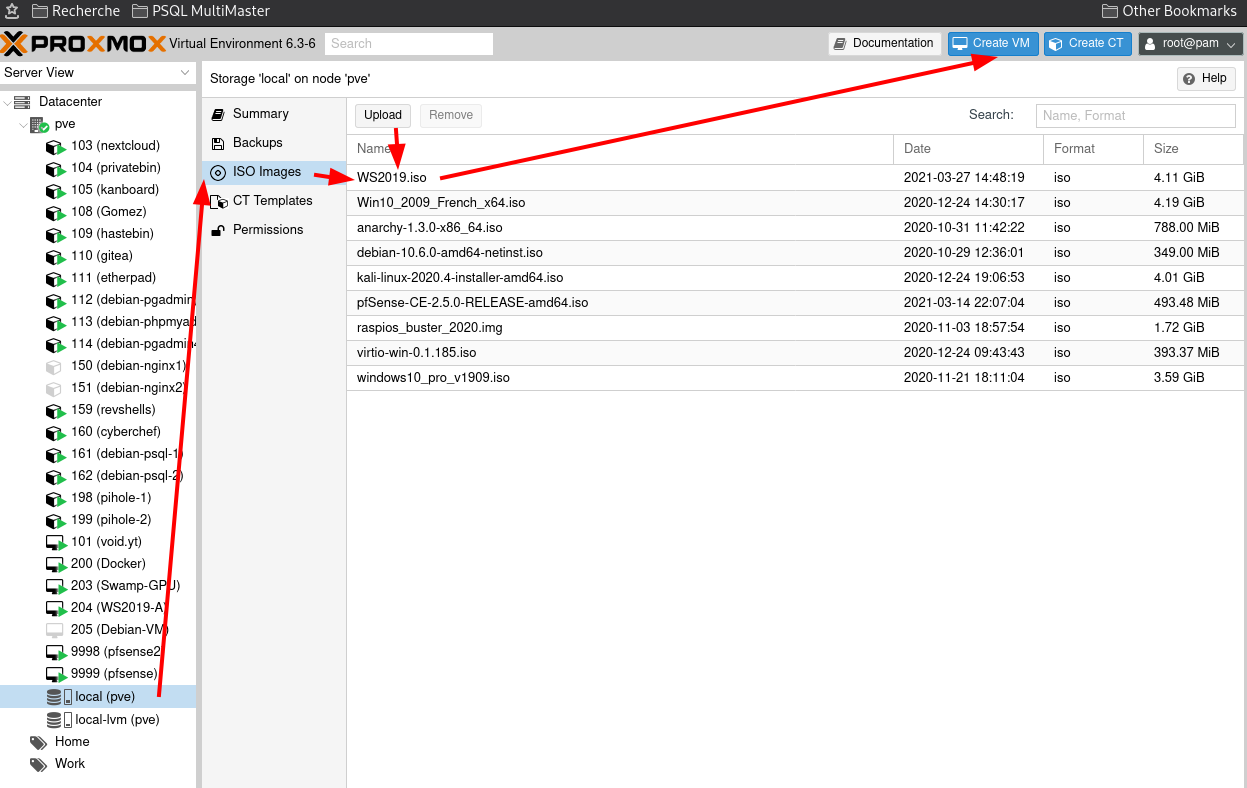
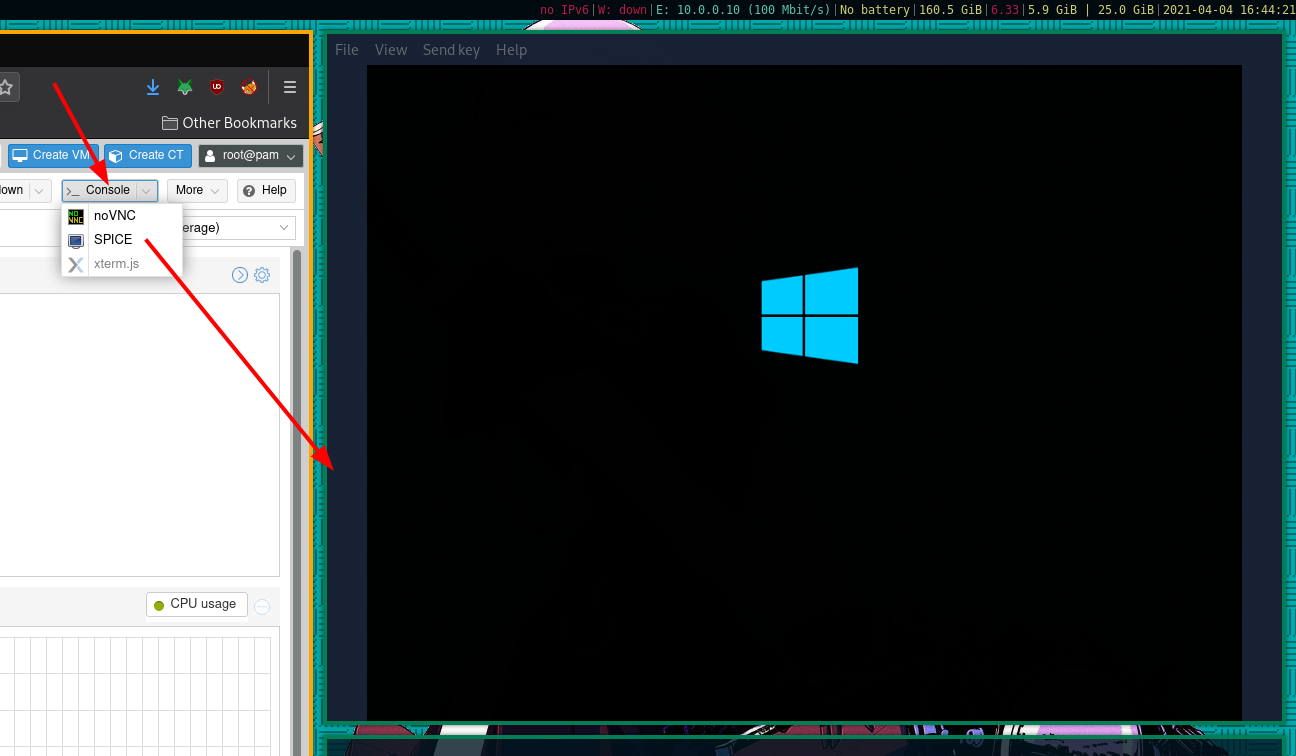
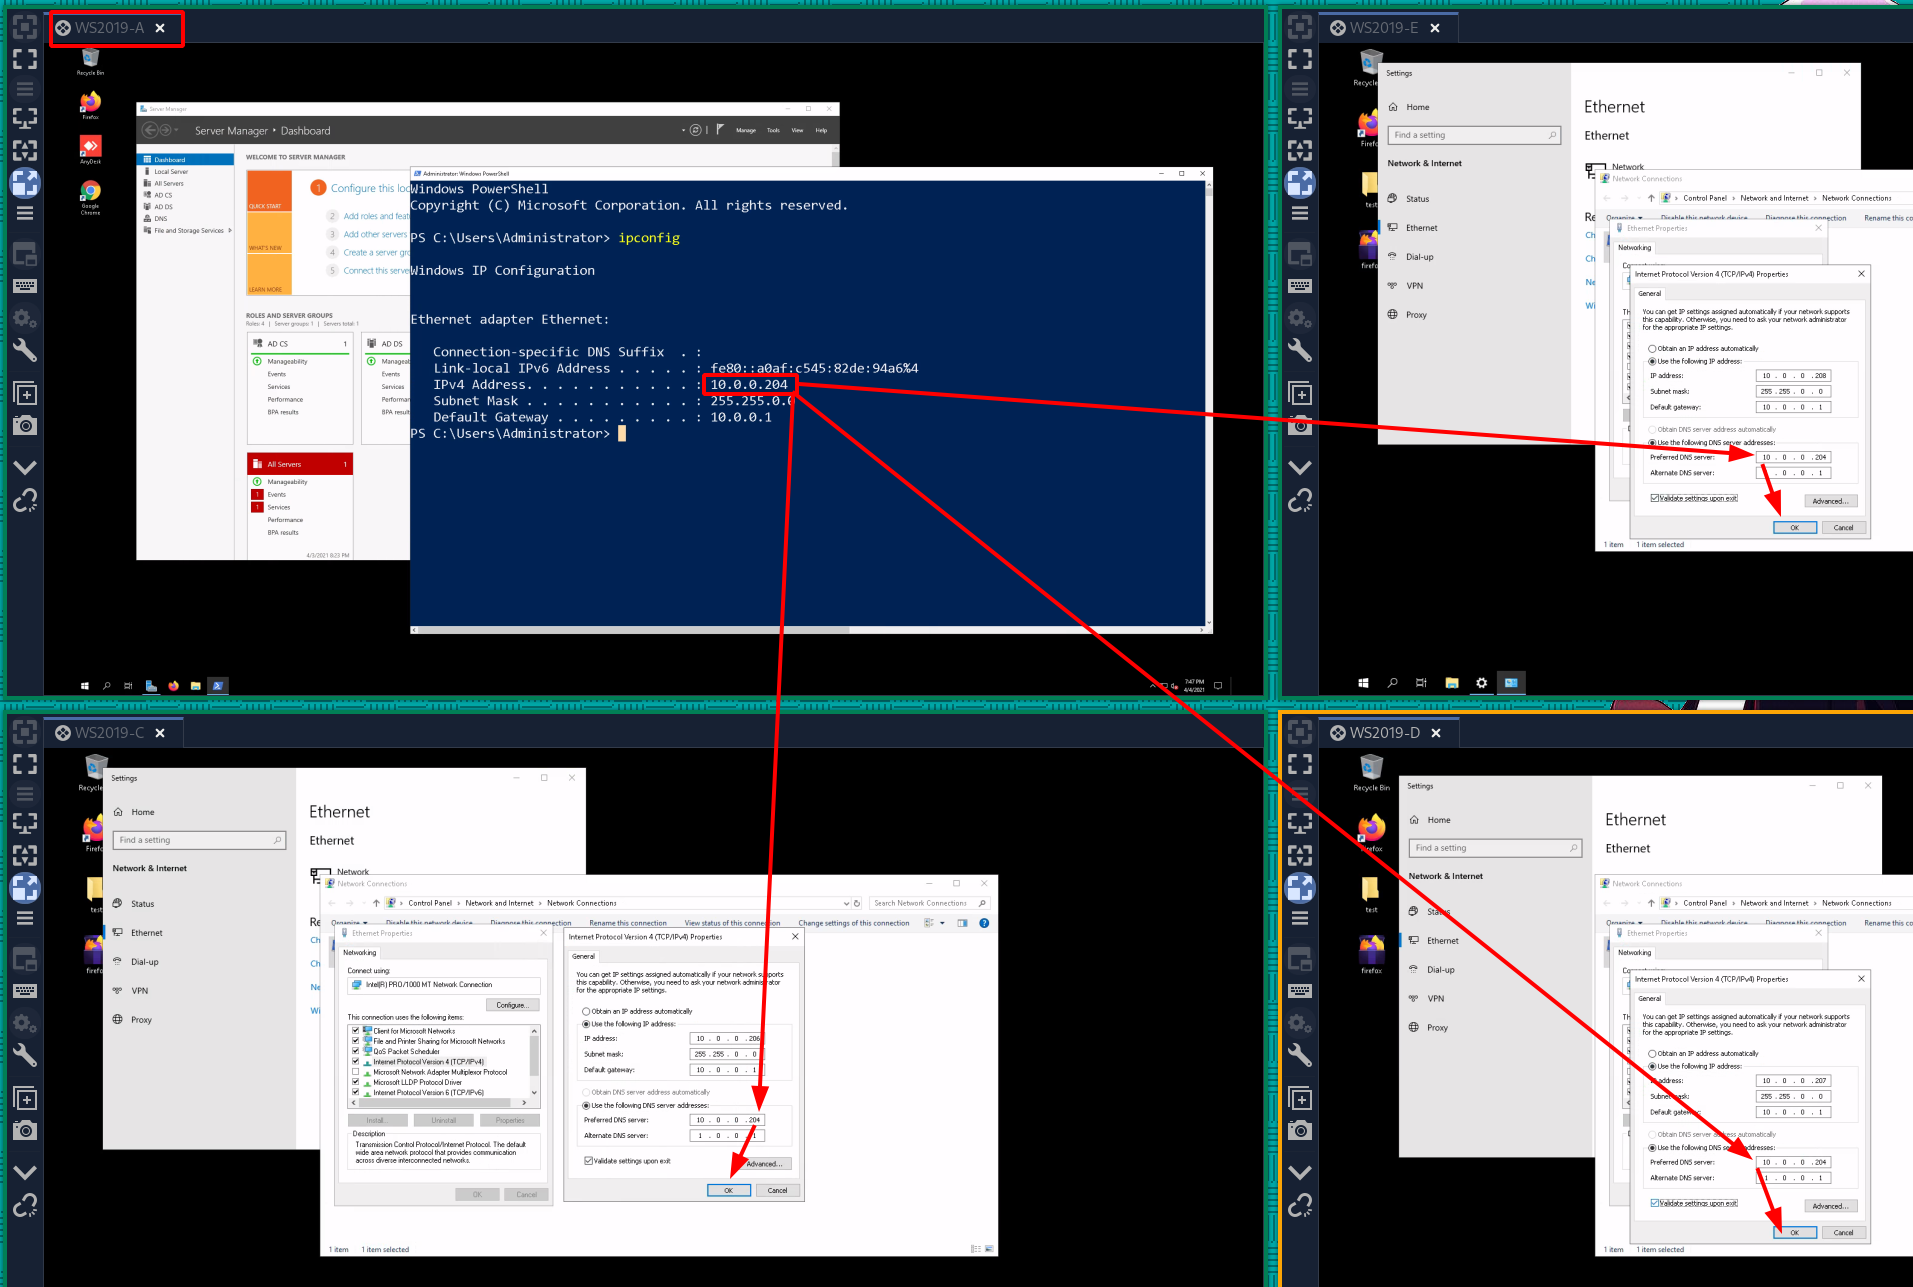
In this tutorial we're going to look at how to install DFS Shares accross multiple Windows Server 2019 VMs. We will install them from scratch within proxmox. To do this tutorial you need to have followed the following tutorial because we're going to include 3 additional Windows Server 2019 VMs to the previous tutorial's WS2019 Active directory. We're going to follow this network graph:

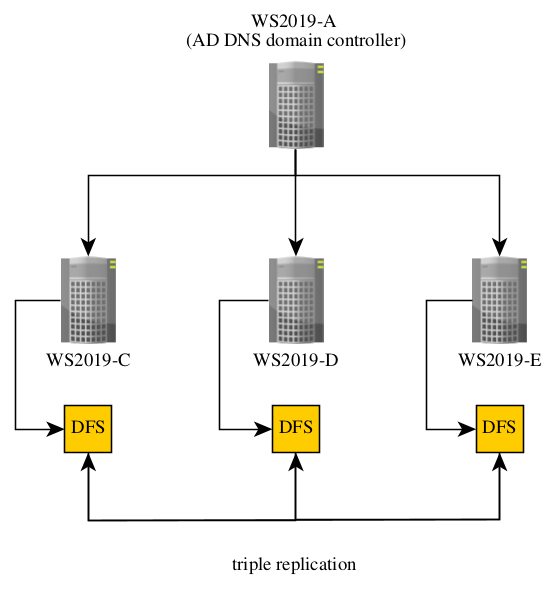
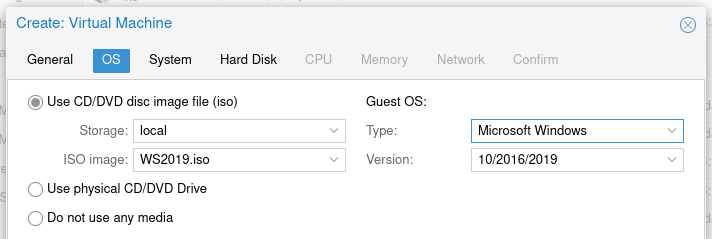
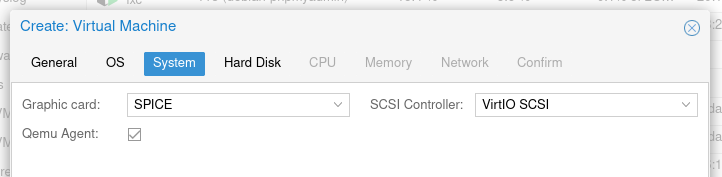
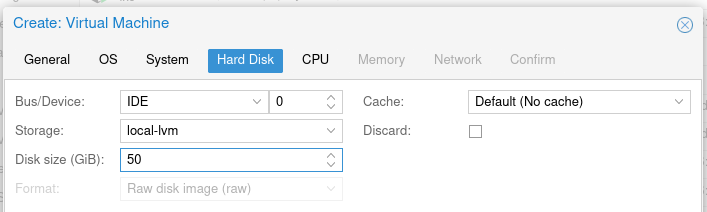
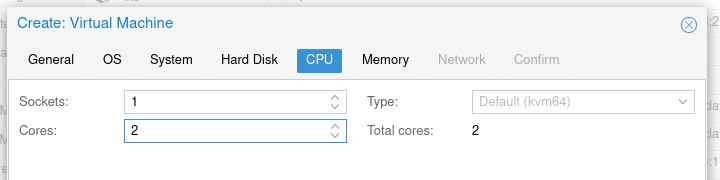
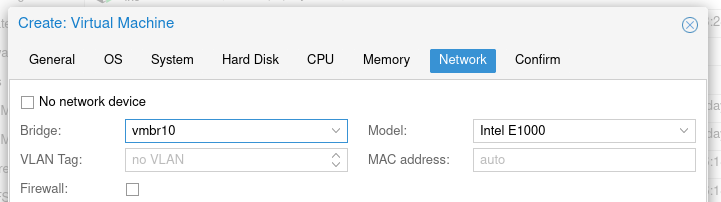
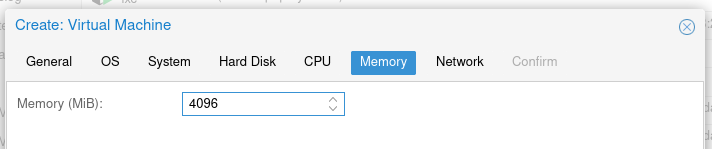
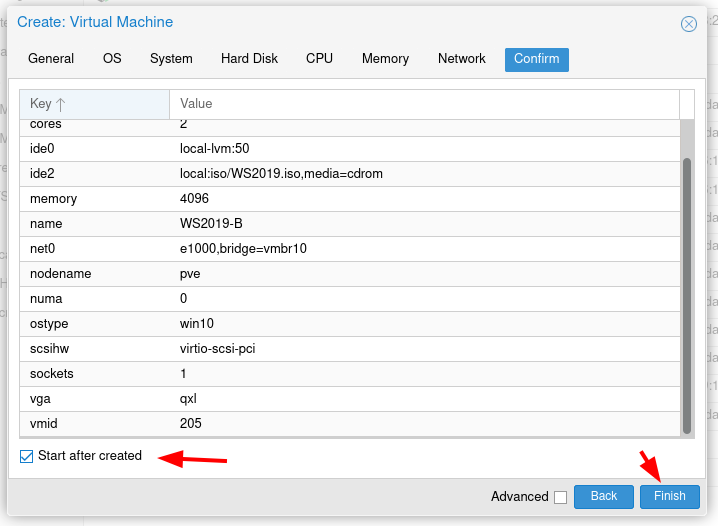
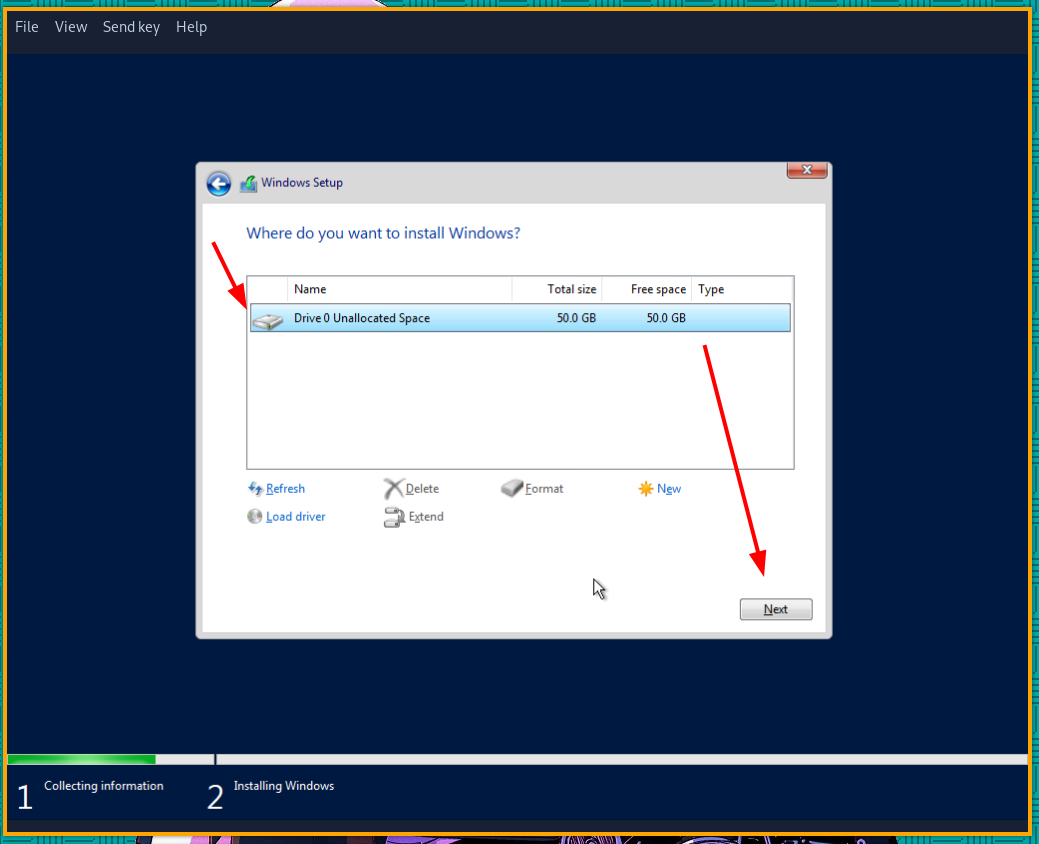
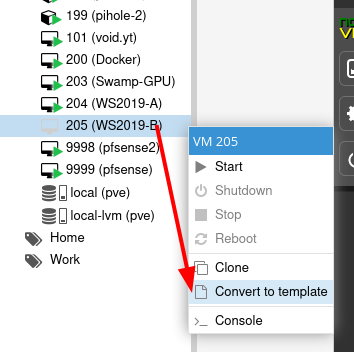
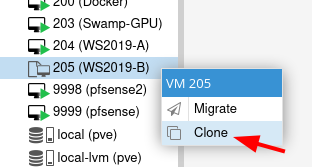
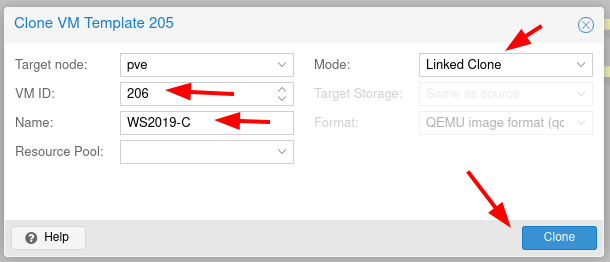
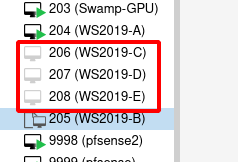
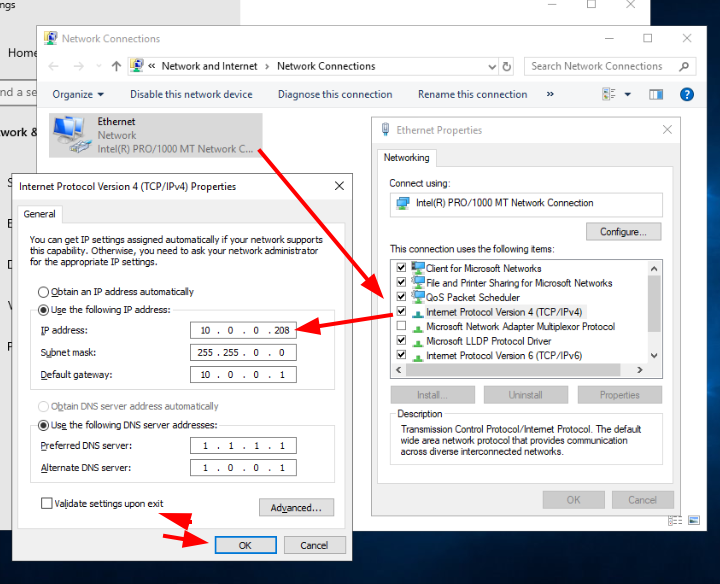
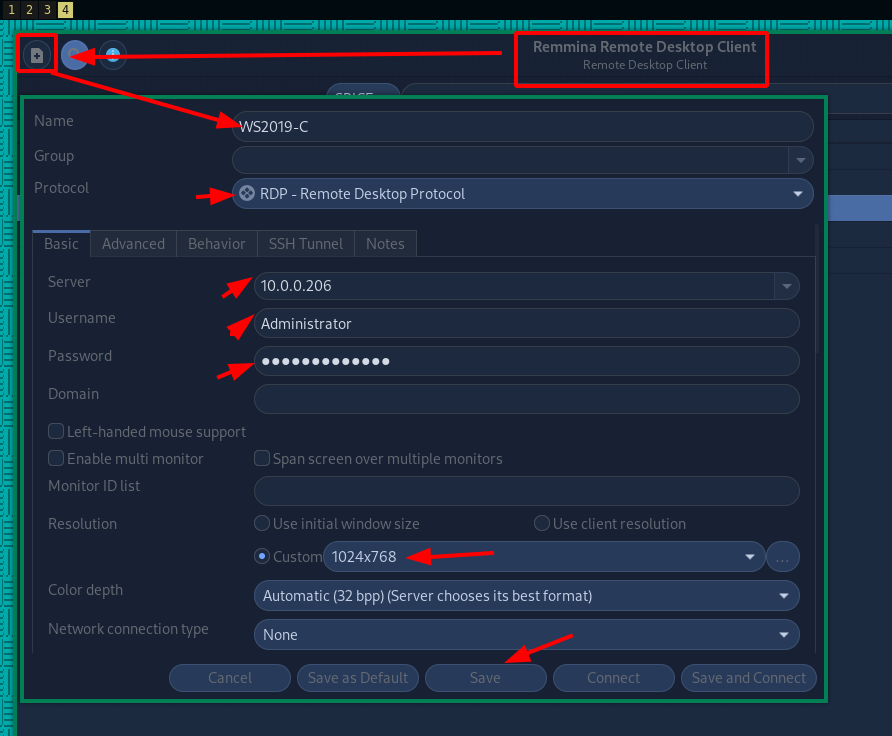
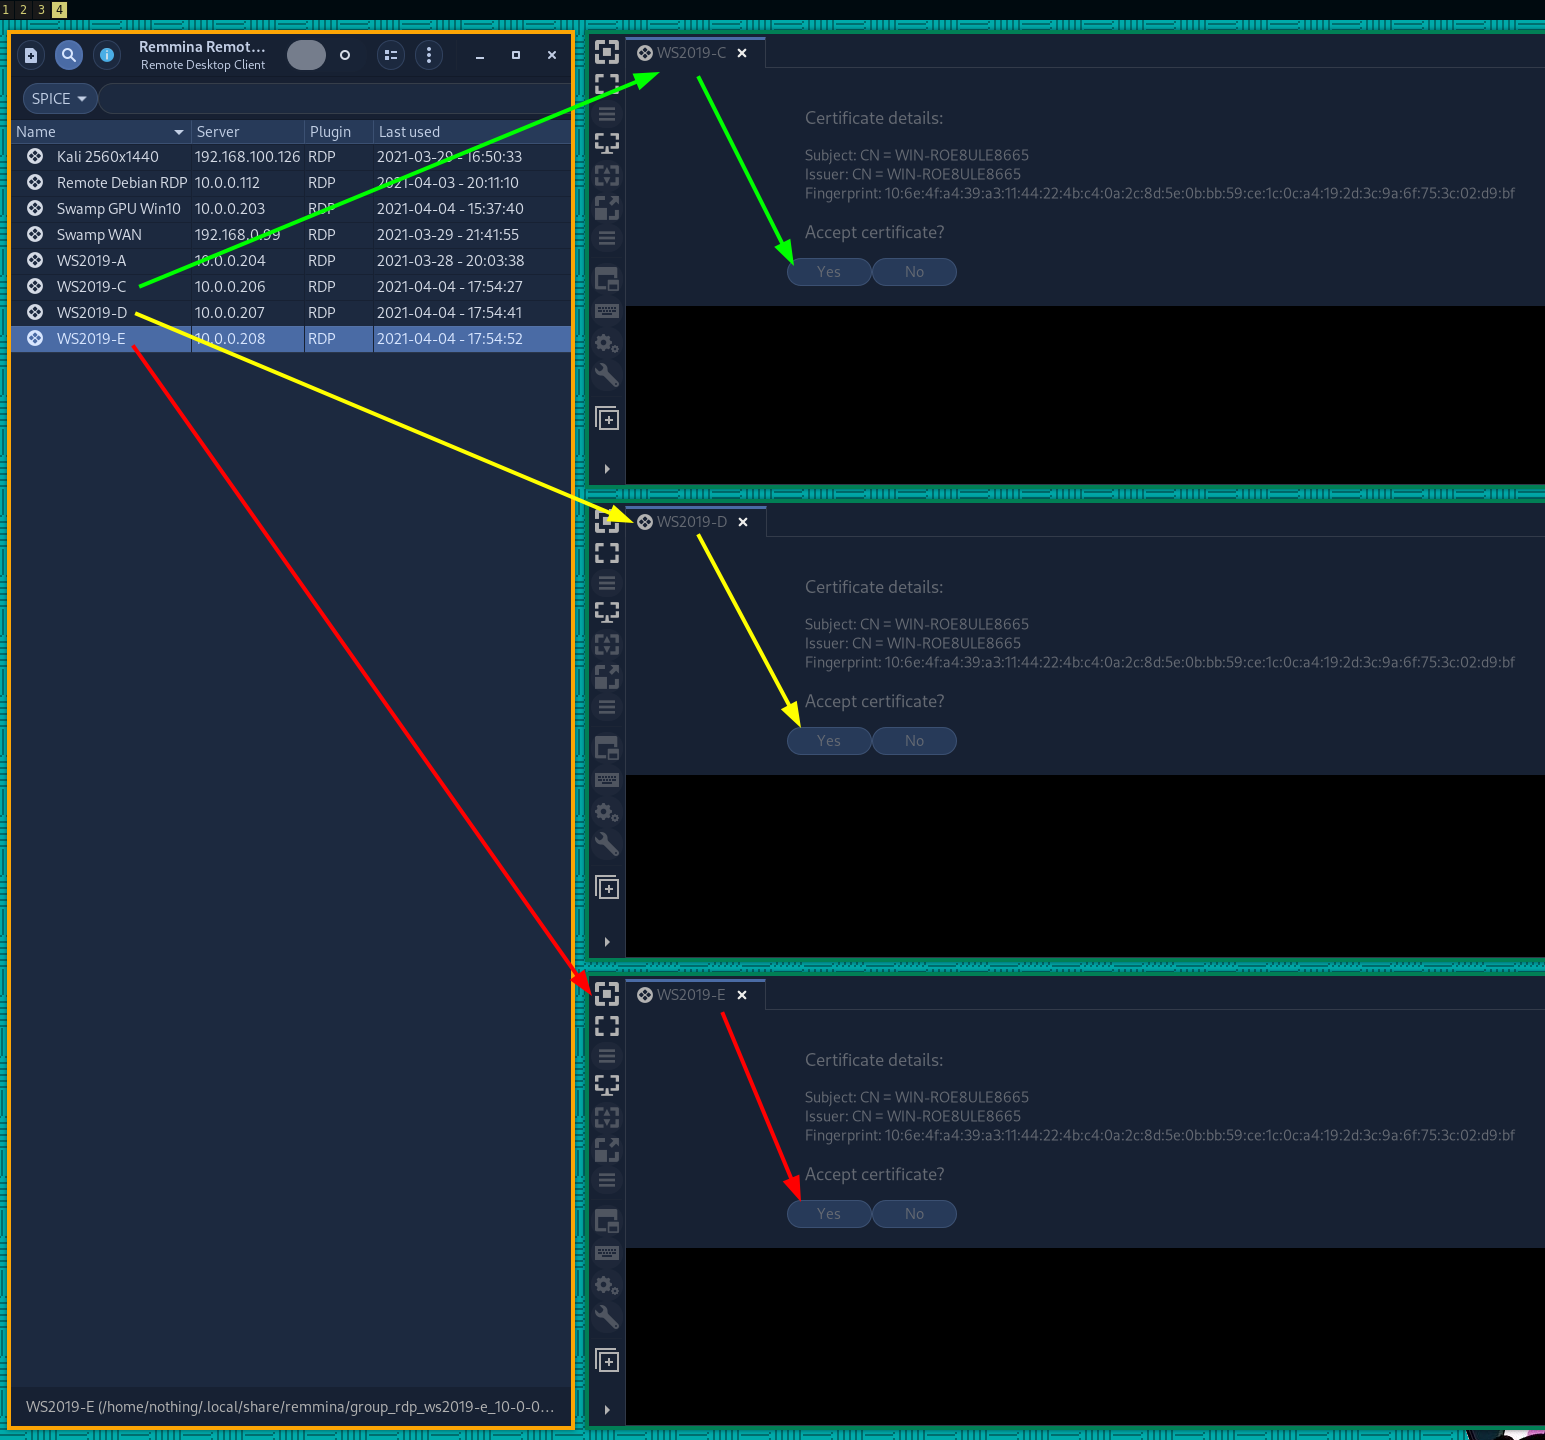
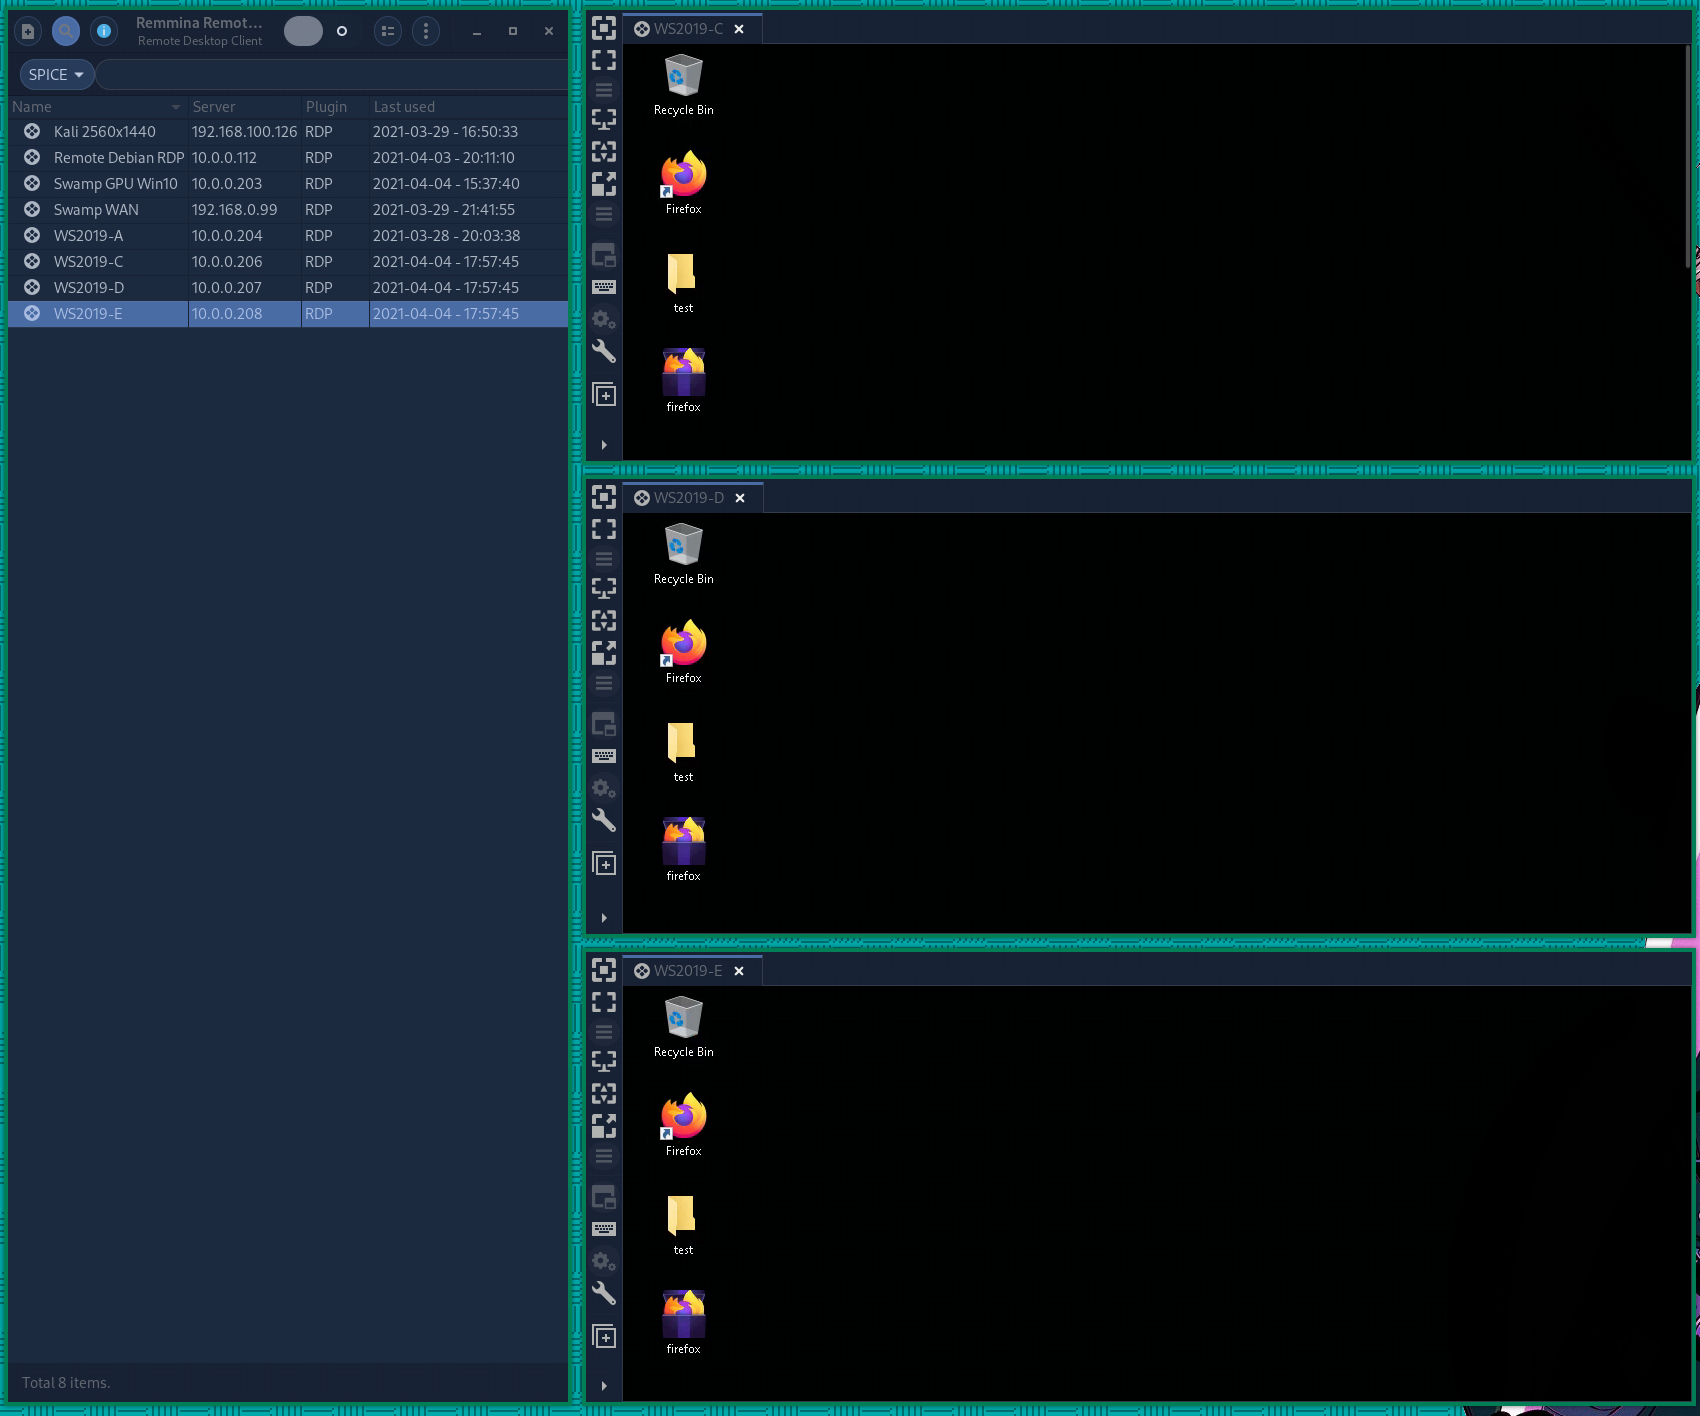
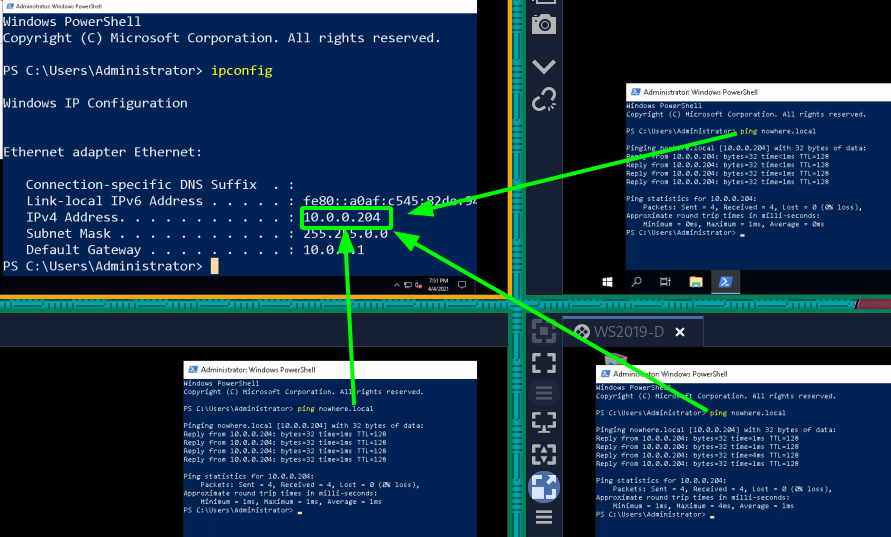
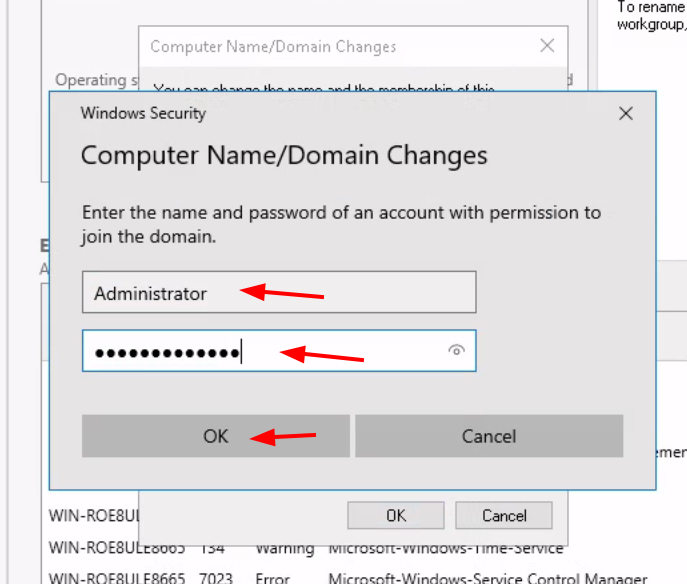
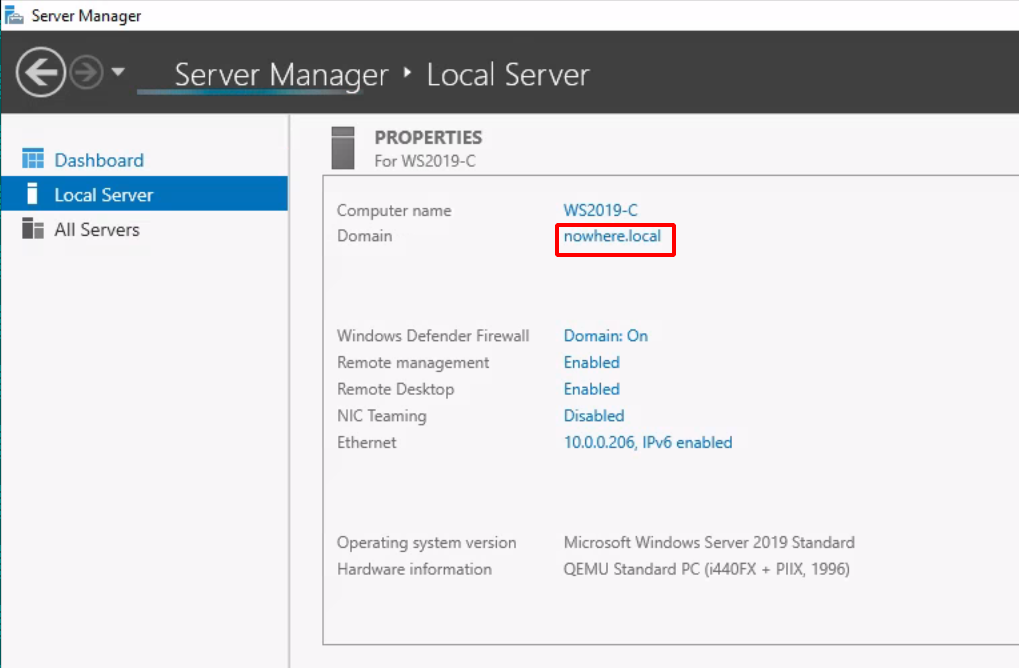
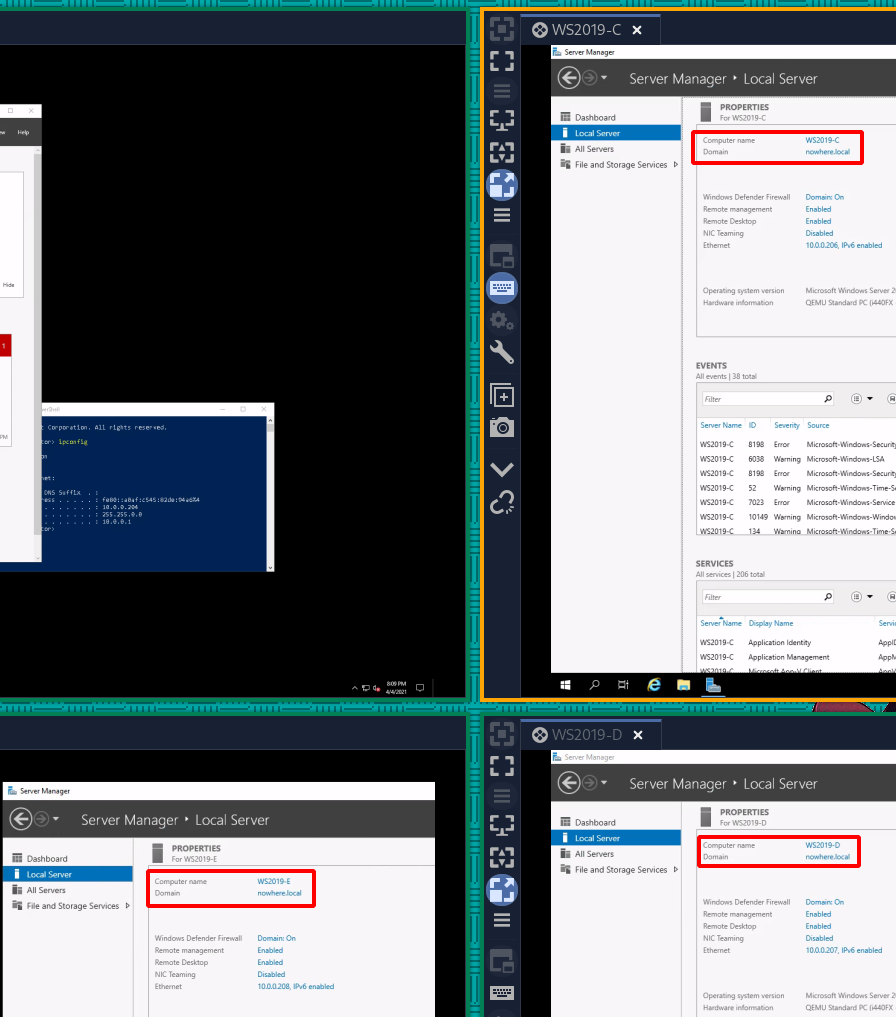
Considering WS2019-A is already there, we're going to first create the 3 other WS2019 VMs and integrate them into WS2019-A's Active Directory Forest.

Initial Windows Server Setup

First send the WS2019 iso file to proxmox and then create the VM:

Now from here we're going to use the SPICE display console to install WS2019 :

After that, let it install (from the SPICE window, you can hit CTRL+ALT+R to 'release' the mouse and keyboard capture):

Setup your Administrator account:

Now we're going to do a few things to setup our WS2019 server to make sure we're more productive, first of all we're going to install firefox on it and then enable RDP:

Get the firefox installer executable onto the VM like so:

Then run the executable wherever you downloaded it:

Then enable RDP as follows:

Then make sure your WS2019 has a static ip and then you can close the SPICE display to switch to the RDP connection:

Once you're there, we're ready to start cloning our WS2019 VMs. Let's make a clone template:

Once converted to a template we will clone it a few times to have a WS2019 Trio:

Now from here we will have to make sure that we change the static IP of each of these cloned VMs to an unique static IP, following their IDs i will set them to be 10.0.0.206 207 and 208:

And so we can connect to each of them via RDP:

Right click the first one and hit 'copy' to end up with this result:

And of course test the RDP connections:

Hit 'Yes' at the new certificate warning:

And there you have it! We have been able to setup our 3 cloned Windows Server 2019 VMs.

Linking the VMs to the AD


To link Windows Server 2019 to an existing AD you first need to make sure that each of the 3 servers are using the AD controller as it's primary DNS. My primary DNS is 10.0.0.204:

Once that's done each of the 3 servers should be able to ping the nowhere.local domain, which refers to the ip address of the Domain Controller WS2019-A:

From there we can add the 3 servers to the AD with the following method:

Log into the AD using the Administrator credentials of the domain controller WS2019-A itself.

Once that's done simply reboot and you will see that your WS2019 server is part of the AD.

Once that's done make sure you change the RDP connections to include the AD Domain as described above. Back into the WS2019 server included within the AD we see the following:

Which confirms that we managed to include our WS2019 VM into the existing AD. Same thing for our 2 other VMs:

The DFS utility


Now that we managed to include our 3 WS2019 Servers to the existing AD, we can now install DFS:

Let it install and then go to Tools:

Here we want a full mesh topology:

If you get this error trying to setup a host, make sure you installed DFS on the other hosts and try again.

Once that's done we can keep going:

Now that the replication has been setup, let's see if it actually works across the 3 WS2019 servers:

And that's it! We have been able to create a triple DFS replication across 3 WS2019 VMs.

My Bunker

Some Address 67120,
Duttlenheim, France.

About Ech0

This cute theme was created to showcase your work in a simple way. Use it wisely.