
Minimalistic NGINX Setup with HTTPS
In this tutorial we'll see how to install a NGINX server with a free TLS 1.3 Certificate and a free domain name.
In this tutorial we'll see how to install a NGINX server with a free TLS 1.3 Certificate and a free domain name.
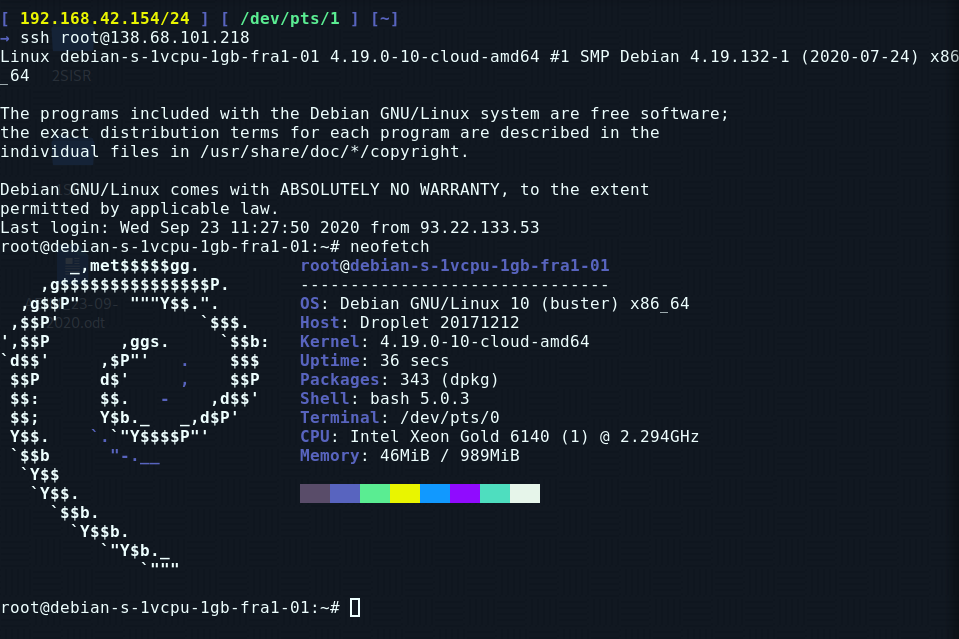
Before we start, make sure you have a debian 10+ server with a public ip (like a rented VPS on digitalocean for example) If this is a debian server hosted at home, you need to make sure you port forward port 443 on your router interface so that the public IP address' port 443 points to the server's port 443 and not the router. Once you're there, ssh into your server:
From here, we'll run the following commands:
apt update -y && apt upgrade -y
apt install nginx curl socat git -y
Once that's installed, we can verify nginx is installed like so:
    root@debian-s-1vcpu-1gb-fra1-01:~# which nginx && nginx -v
    /usr/sbin/nginx
    nginx version: nginx/1.14.2
We can verify it is running using systemctl:
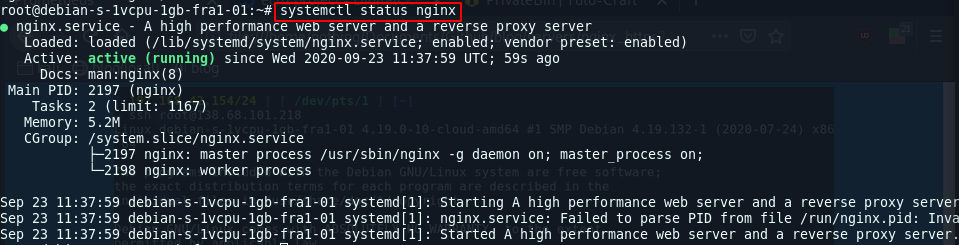
Now that nginx is installed, by default only port 80 is opened, as we can see here:
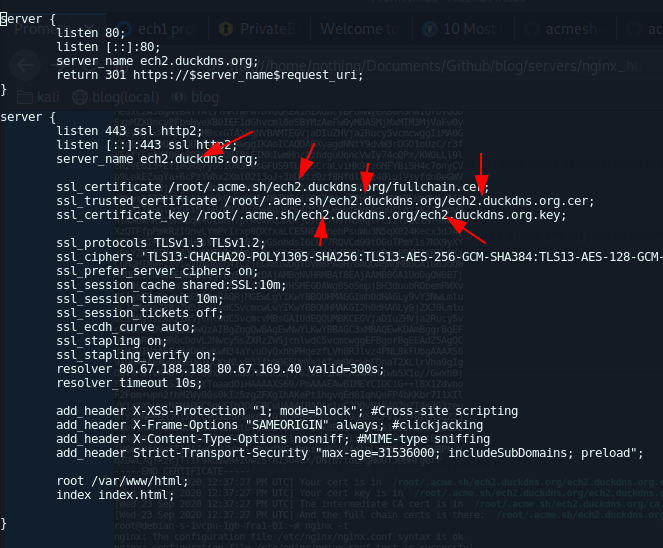
So from here, we'll install the custom configuration (located in /etc/nginx/sites-enabled/my_conf.conf):
wget https://ech1.netlify.app/servers/nginx/nginx.conf -O /etc/nginx/sites-enabled/my_conf.conf
Once that's done, we verify if nginx's configuration is correct:
root@debian-s-1vcpu-1gb-fra1-01:~# nginx -t
nginx: [emerg] no "ssl_certificate_key" is defined for certificate "/root/.acme.sh/ech2.duckdns.org/ech2.duckdns.org.key"
nginx: configuration file /etc/nginx/nginx.conf test failed
And obviously, here we're missing the TLS certificates, and we're going to use acme.sh which is going to get us our free letsencrypt TLS cert :
wget -O -  https://get.acme.sh | sh
source ~/.bashrc
And now we can run acme.sh, but before that we need to stop nginx. If you do not have a domain name yet, go get one and make sure it points to your VPS' public ip address. If you want a free domain name alternative, you can use duckdns:

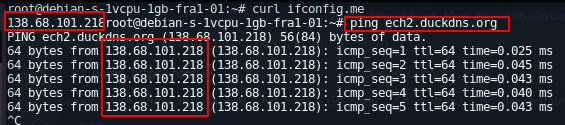
You can verify the domain name points to your vps correctly like so :
systemctl stop nginx
acme.sh --issue --standalone -d ech2.duckdns.org -k 4096
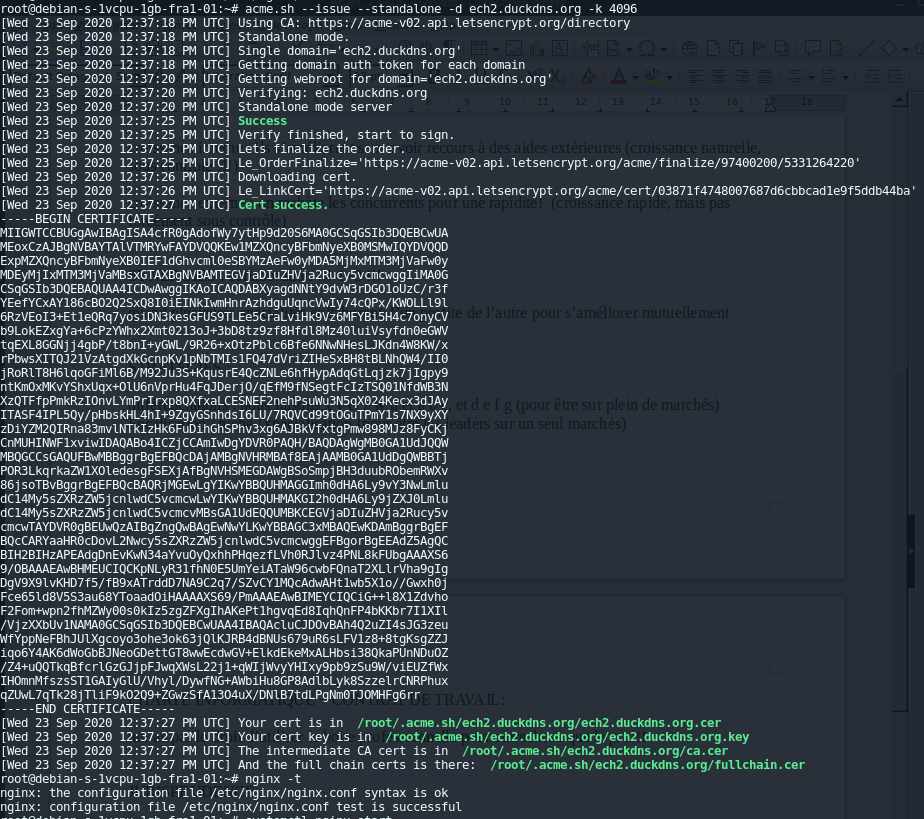
Now that acme.sh gave us our free letsencrypt ssh we verify that the nginx config is correct using the "nginx -t" command. If it does not give you a positive answer like in the screenshot above, you probably forgot to edit the configuration in /etc/nginx/sites-enabled/my_conf.conf to contain your own domain name:
    wget https://ech1.netlify.app/servers/nginx/nginx.conf -O /etc/nginx/sites-enabled/my_conf.conf
    nano /etc/nginx/sites-enabled/my_conf.conf
Once you're done, hit CTRL+S to save in nano, and then CTRL+X to exit nano.
After that, verify that nginx configuration is correct, and restart nginx:
nginx -t
systemctl start nginx

echo 'Welcome to my website!' > /var/www/html/index.html
And we're done!
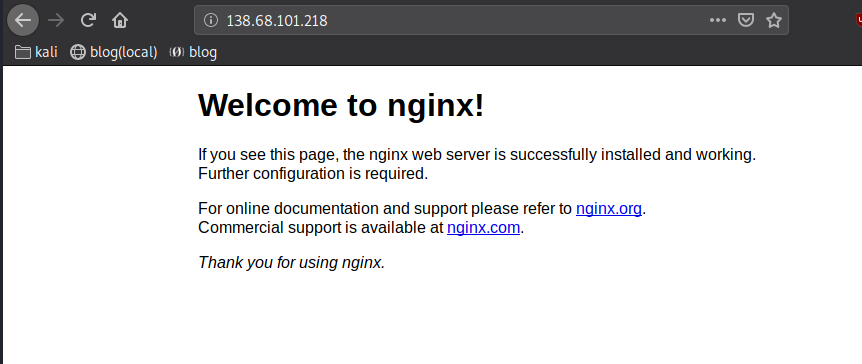
We're done, and we can now check out the website:
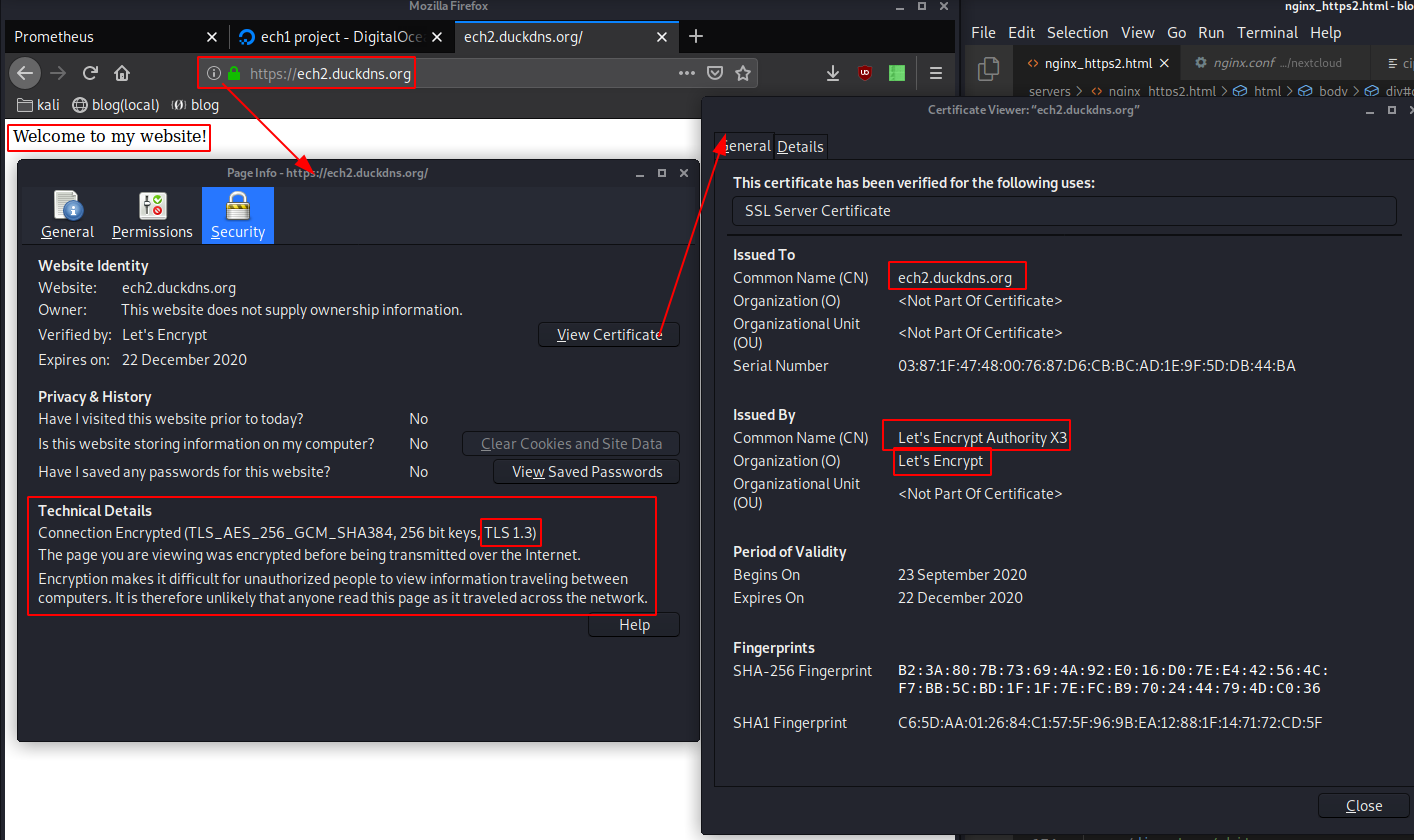
And here we can see the index.html we previously created. Thanks to the nginx config we created the server is going to attempt TLS 1.3 protocols, and if it is not supported, only after will TLS 1.2 protocols be tried, and not otherwise.
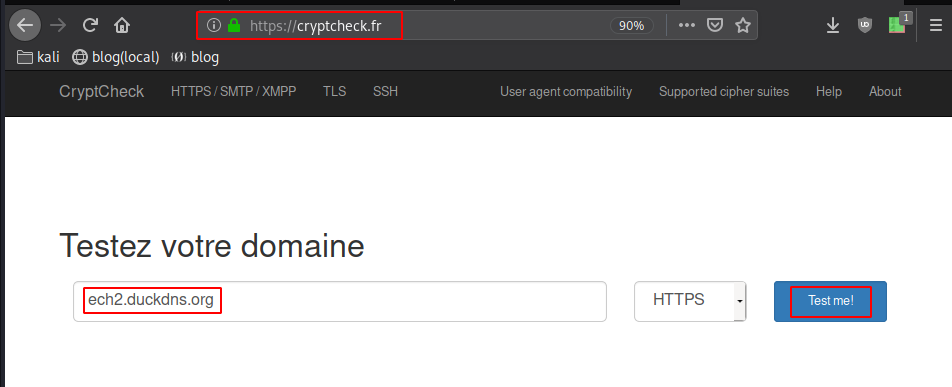
We can verify it is working on cryptcheck.fr:
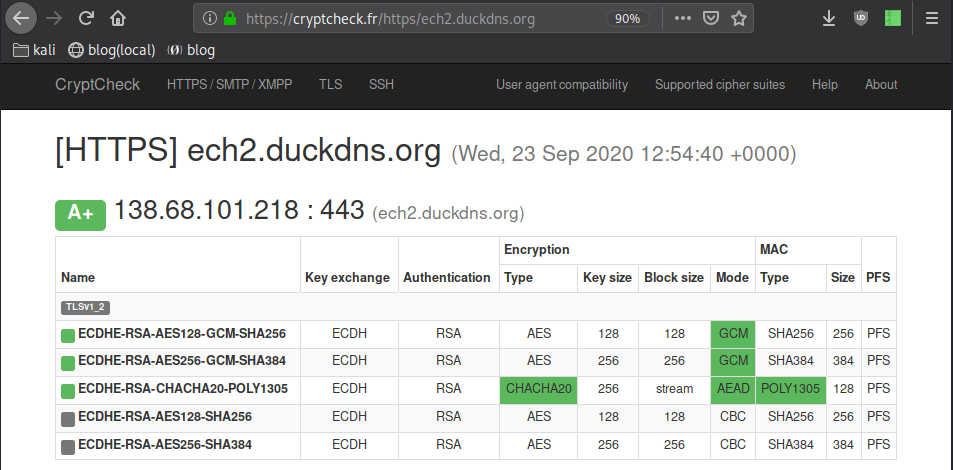
And there we have it, we have been able to get a working nginx server working with TLS 1.3 by default using a free domain name, and free TLS certificates provided by Letsencrypt.
Some Address 67120,
Duttlenheim, France.
This cute theme was created to showcase your work in a simple way. Use it wisely.