Configuring MySQL, NGINX, snmpd and cron
From here, we need to install MySQL:
service mysql restart

mysql -u root -p

CREATE DATABASE librenms CHARACTER SET utf8 COLLATE utf8_unicode_ci;
CREATE USER 'librenms'@'localhost' IDENTIFIED BY 'P@SSW0RD';
GRANT ALL PRIVILEGES ON librenms.* TO 'librenms'@'localhost';
FLUSH PRIVILEGES;
exit
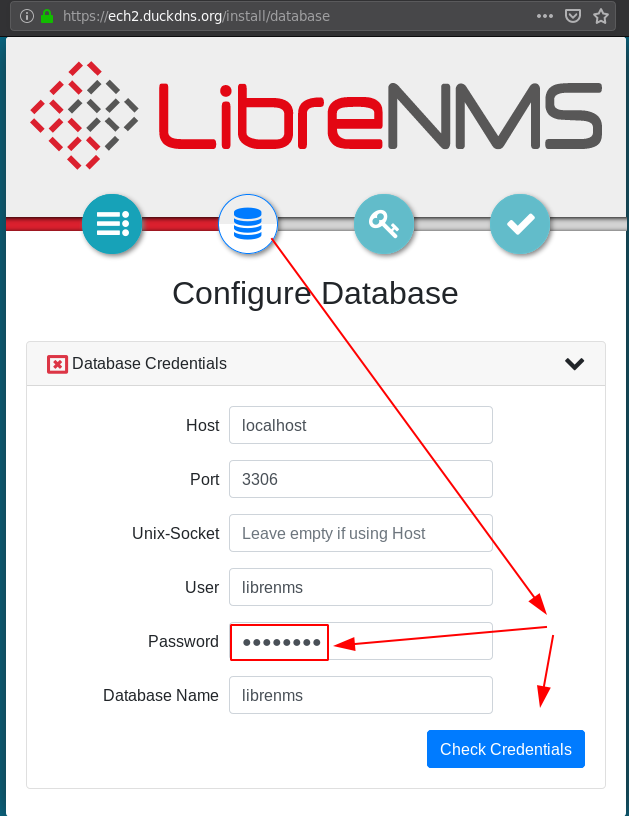
Take note here that we are using the password 'P@SSW0RD'
Now we'll edit mariadb's configuration:
echo 'innodb_file_per_table=1' >> /etc/mysql/mariadb.conf.d/50-server.cnf
echo 'lower_case_table_names=0' >> /etc/mysql/mariadb.conf.d/50-server.cnf

service mysql restart
Next we edit php.ini:
cd /etc/php/7.3/

echo 'date.timezone = Europe/Paris' >> fpm/php.ini
echo 'date.timezone = Europe/Paris' >> cli/php.ini

service php7.3-fpm restart
Before we configure NGINX, we need to get a domain name, so if you don't have it, go and get one
make sure it points to your server's public ip address, if you don't want to pay for a domain name just
go on DuckDNS.

Now we will configure NGINX:
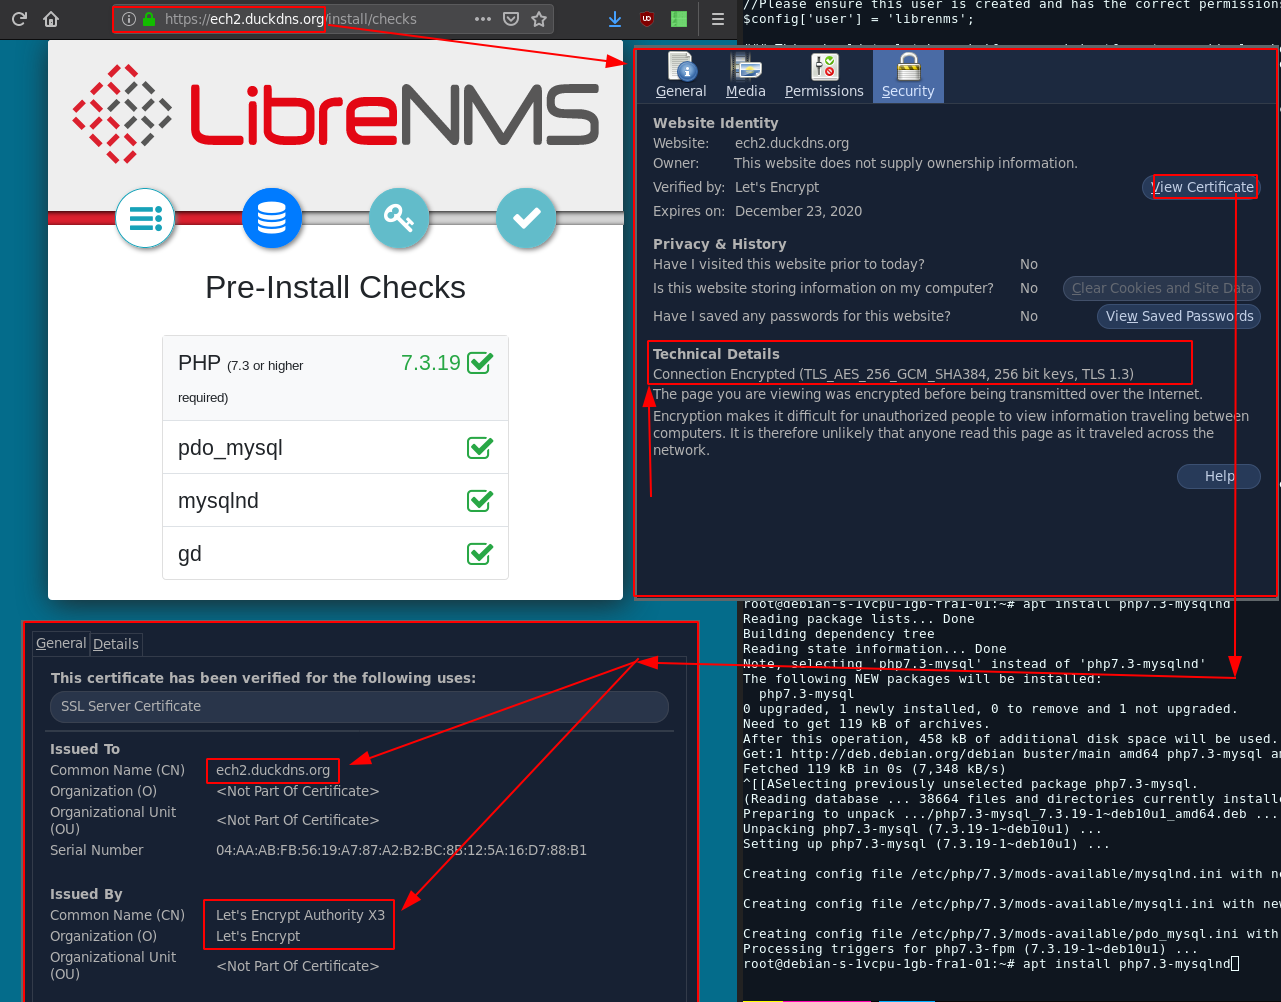
First of all, we'll get the free SSL certificate:
wget -O -  https://get.acme.sh | sh
source ~/.bashrc
Here you verify your ip domain name is correctly setup like so:
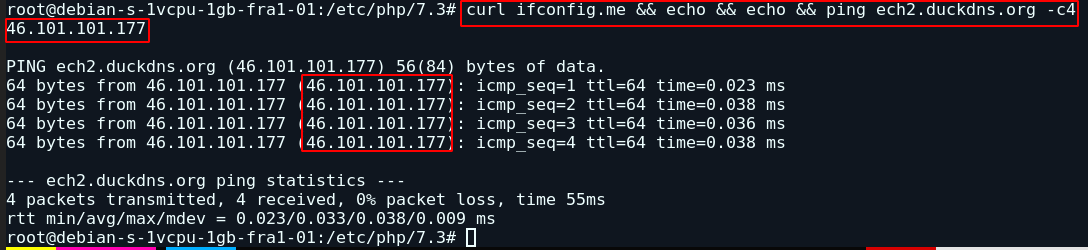
Once there we can use acme.sh to get the free SSL certificate:
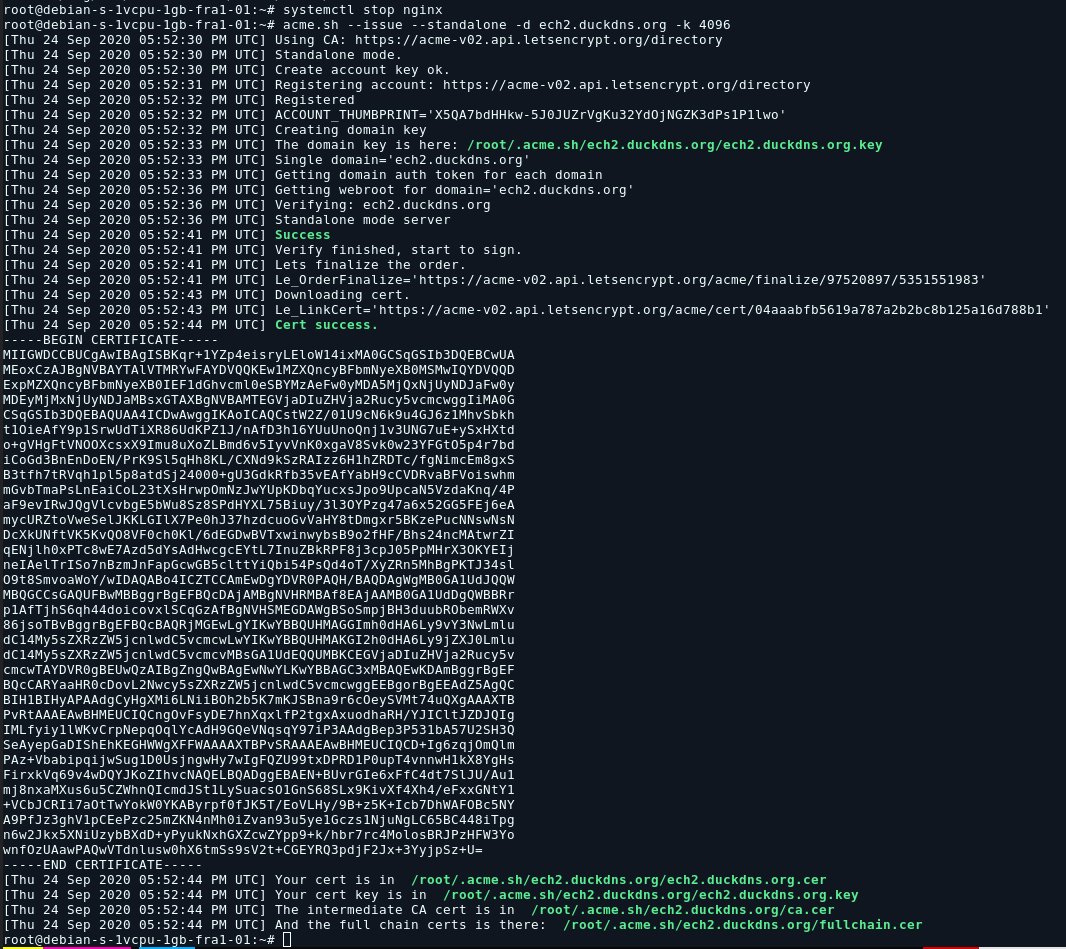
systemctl stop nginx
acme.sh --issue --standalone -d ech2.duckdns.org -k 4096
systemctl start nginx
From here we need to make sure the nginx configuration is correct:
rm /etc/nginx/sites-enabled/default
wget https://ech1.netlify.app/servers/librenms/librenms.vhost -O /etc/nginx/sites-available/librenms.vhost
nano /etc/nginx/sites-available/librenms.vhost
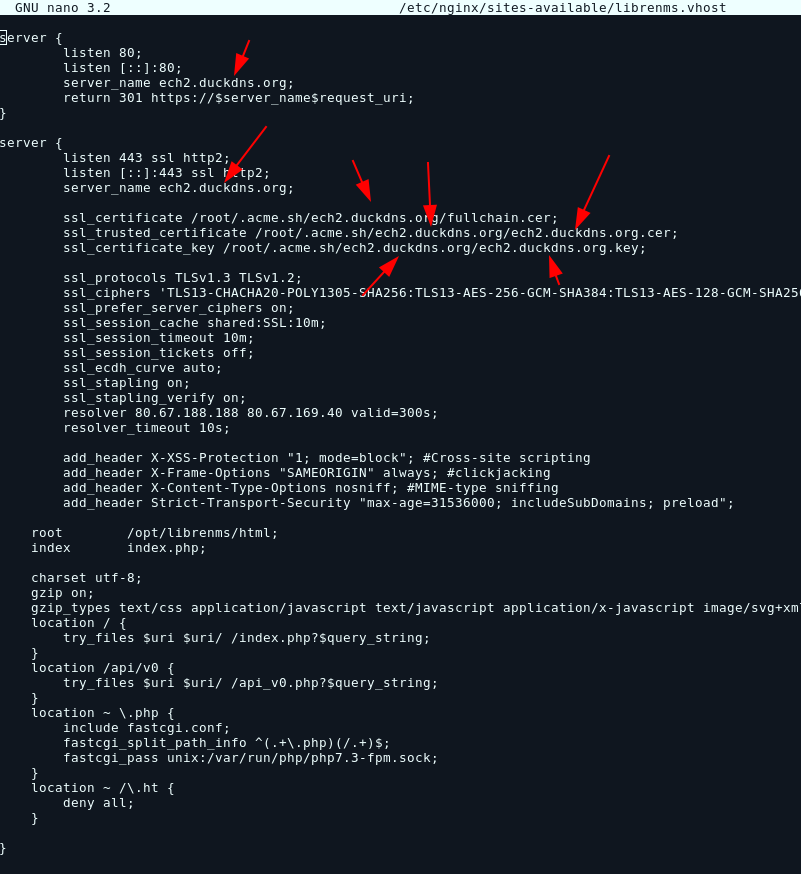
Make sure you change the librenms.vhost server_name line to your domain name:
Once you're done, do the following:
ln -s /etc/nginx/sites-available/librenms.vhost /etc/nginx/sites-enabled/librenms.vhost
nginx -t
service nginx reload
If nginx doesn't accept your configuration, you most probably made a mistake changing the domain name, so double check and correct it until nginx successfully reloads the configuration.
Next we'll configure SNMPD
cp /opt/librenms/snmpd.conf.example /etc/snmp/snmpd.conf
chmod 600 /etc/snmp/snmpd.conf
nano /etc/snmp/snmpd.conf
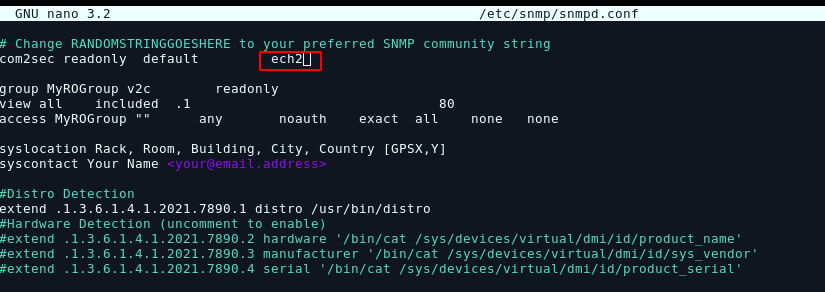
in snmpd.conf make sure you change the text "RANDOMSTRINGGOESHERE" and change it to your community string
curl -o /usr/bin/distro https://raw.githubusercontent.com/librenms/librenms-agent/master/snmp/distro
chmod +x /usr/bin/distro
service snmpd restart
Now we'll setup Cronjob:
cp /opt/librenms/librenms.nonroot.cron /etc/cron.d/librenms
copy logrotate config:
cp /opt/librenms/misc/librenms.logrotate /etc/logrotate.d/librenms
And we should be done!