Setting up the Router:
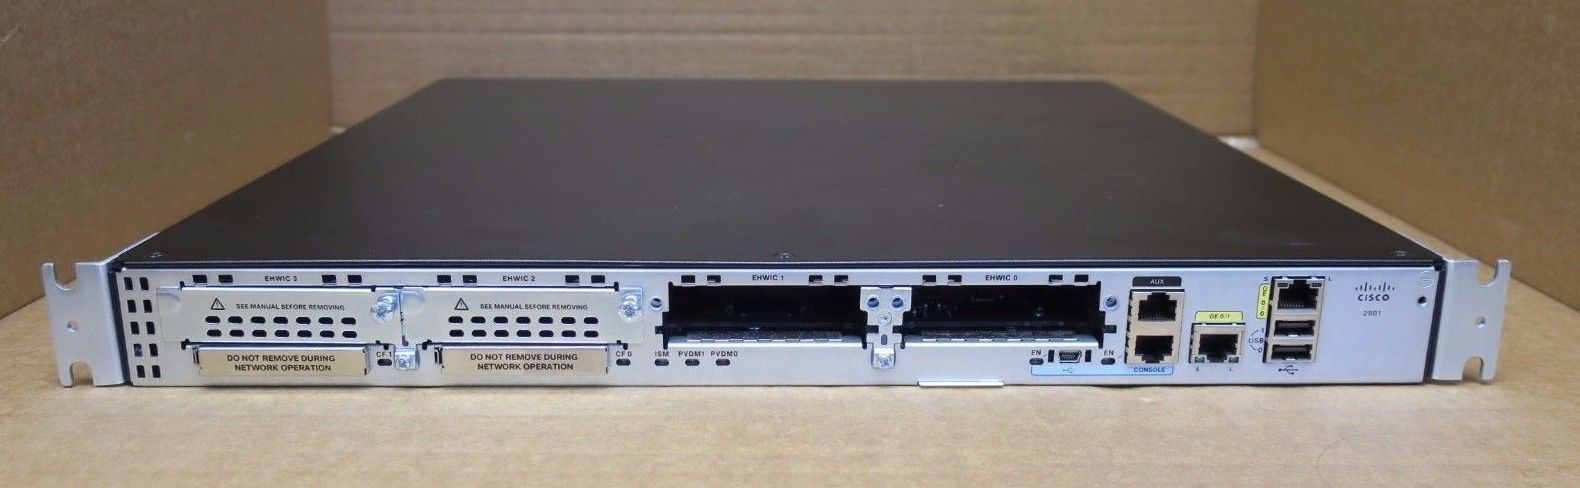
First place a 2901:
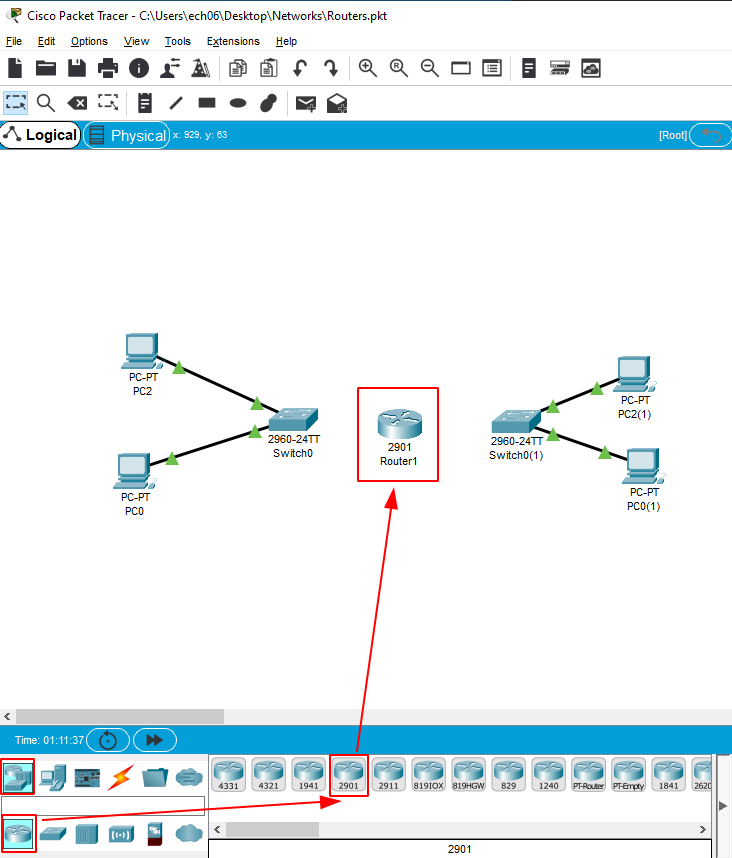
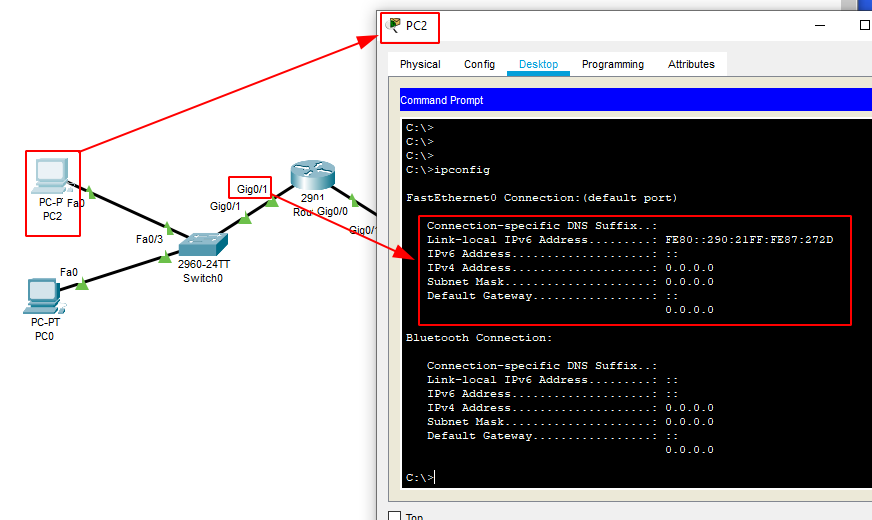
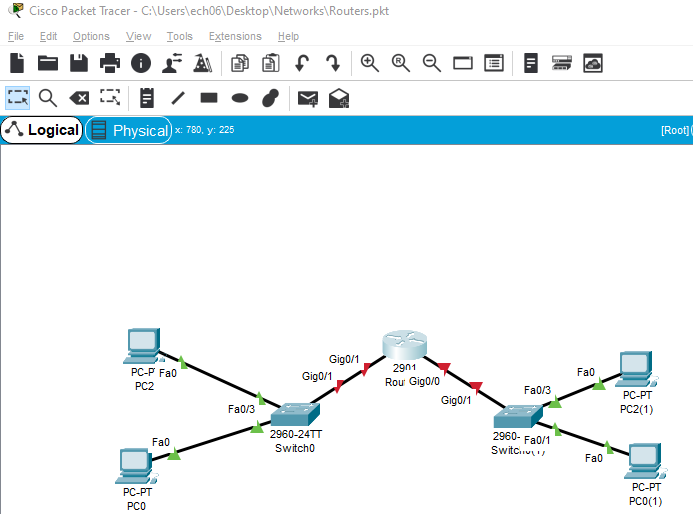
Link it:

Here we see that despite having linked the 2 networks it isn't enough, we still need to configure the router:
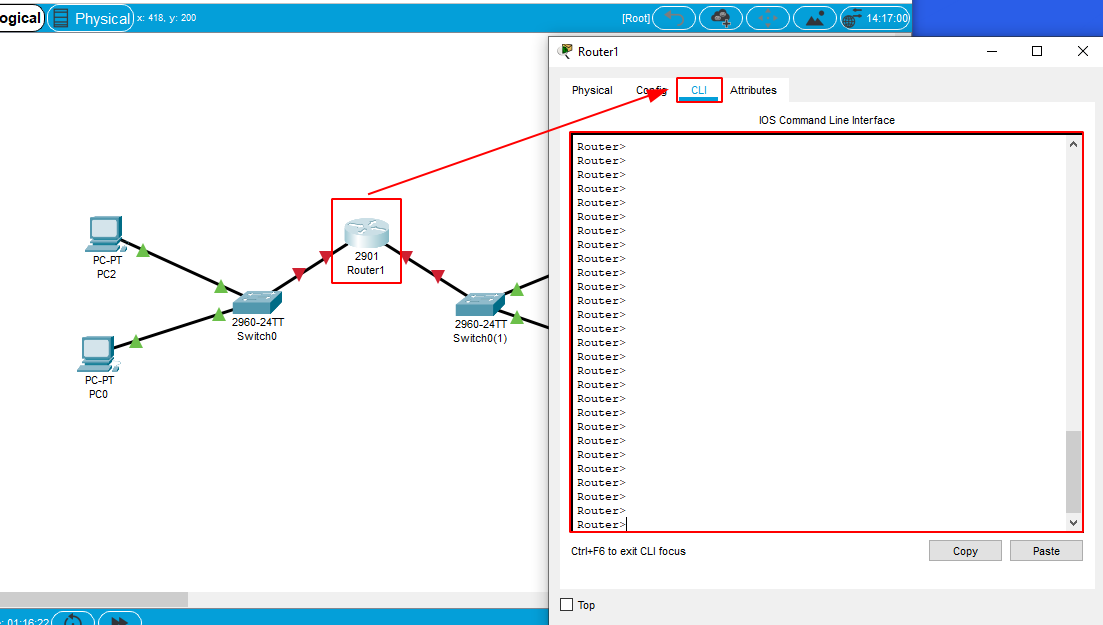
Cisco Packet Tracer offers us to do it graphically but IRL you will anyway have to configure the router through the Command Line Interface, so
it's a good practice to do it here:
First of all we need to enable the administrator rights in cli:
Router> enable
Router#
The privileged shell is highlighted by the # Symbol when you use the enable command. (you can abreviate it by typing "en".)
Router>en
Router#
Router#configure terminal
Router(config)#
To configure the router properly we need to enter the terminal configuration shell which is highlighted by the (config) flag.
You can abbreviate it by typing in "conf t"
Router>en
Router#
Router#conf t
Router(config)#hostname MyCoolRouter0
MyCoolRouter0(config)# exit
MyCoolRouter0#
Here we entered the privileged shell (en) , we entered the terminal configuration shell (conf t) and we renamed the hostname of the router to "MyCoolRouter0" and then exited the
terminal configuration shell, if we were to type "exit" again we would drop out of our privileged shell.
MyCoolRouter0#
MyCoolRouter0#copy run start
[OK]
Doing this we successfully copied the running configuration to the startup config. Why ? Because if we were to restart the router, we would actually loose the running config.
That way, if we restart the router now, we won't have to do our changes (changing the hostname in this example) all over again.
MyCoolRouter0>en
MyCoolRouter0#conf t
MyCoolRouter0(config)#

So here, we have a router with 2 interfaces. Each interface of the router will be the gateway for each Private network (here there are 2 PCs and 1 switch per network).
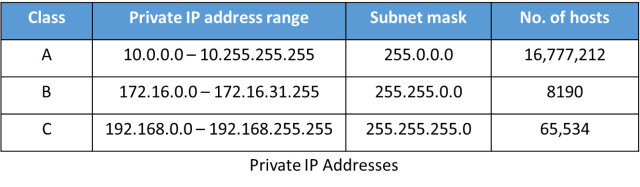
And remember, we need to assign them private ip adresses, for simplicity sake we'll use the 192.168.0.0/16 subnet:
The important thing to know here is the interfaces of the router we want to configure, which in this case are "Gig0/1" and "Gig0/0":
MyCoolRouter0#conf t
MyCoolRouter0(config)#interface Gig0/1
MyCoolRouter0(config-if)#exit
MyCoolRouter0(config)#int Gig0/1
MyCoolRouter0(config-if)#
Here we have to get into the terminal configuration shell, and then into the interface configuration shell, we do so by typing "interface Gig0/1" or "int Gig0/1".
MyCoolRouter0(config)# interface gig0/1
MyCoolRouter0(config-if)#ip address 192.168.1.1 255.255.255.0
MyCoolRouter0(config-if)#exit
MyCoolRouter0(config)# interface gig0/0
MyCoolRouter0(config-if)#ip address 192.168.0.1 255.255.255.0
MyCoolRouter0(config-if)#exit
MyCoolRouter0(config)#exit
MyCoolRouter0#copy run start
MyCoolRouter0#exit
MyCoolRouter0>
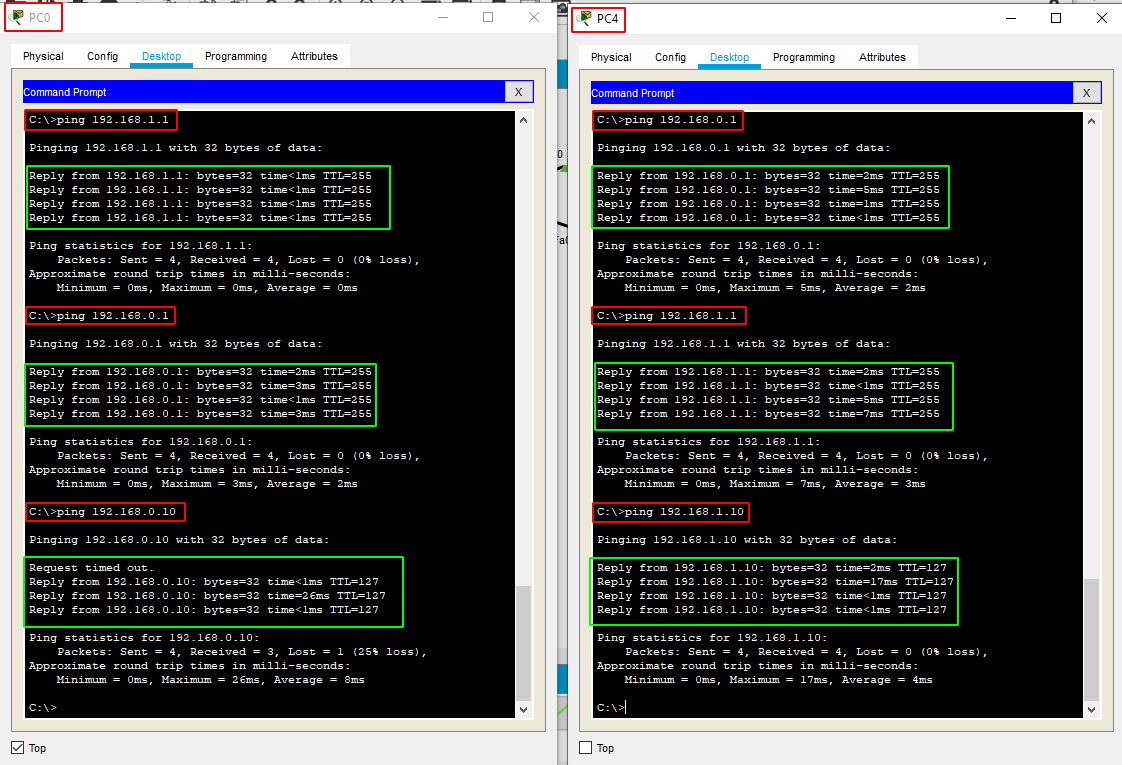
So here we assigned the ip adress of each interface of the router to be 192.168.1.1/24 and 192.168.0.1/24.
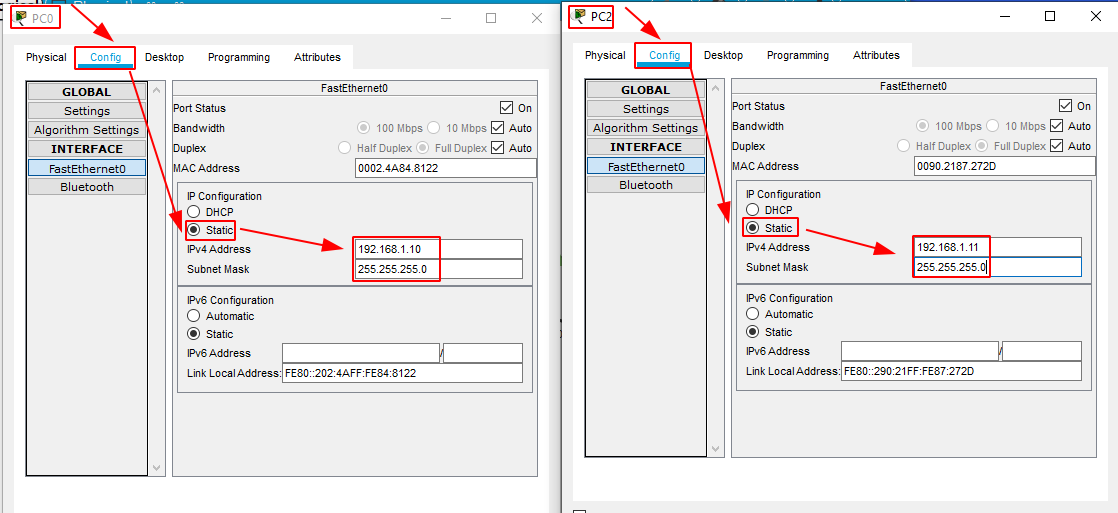
From here onward we have the gateway for the 2 private networks, which will contain hosts with ips like 192.168.1.10 or 192.168.0.10 depending on which gateway they have.
But why isn't there connection anyway? That's because we forgot to enable each interface lol.
MyCoolRouter0>en
MyCoolRouter0#conf t
MyCoolRouter0(config)#int gig0/1
MyCoolRouter0(config-if)#no shutdown
MyCoolRouter0(config-if)#exit
MyCoolRouter0(config)#int gig0/0
MyCoolRouter0(config-if)#no shutdown
MyCoolRouter0(config-if)#exit
MyCoolRouter0(config)#exit
MyCoolRouter0#copy run start
MyCoolRouter0#exit
MyCoolRouter0>
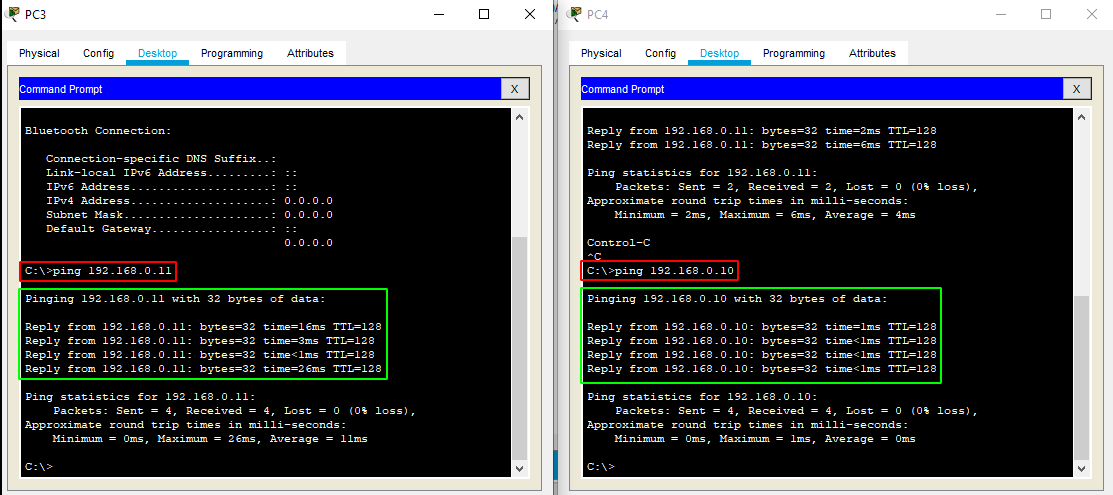
We get the privileged shell, enter the terminal configuration mode, enter each interface, and use the command "no shutdown" to activate each interface, which gives us a
better result:

Now in theory, Our PCs can communicate because the router's interfaces are up.